New foundation on a 120 year old House

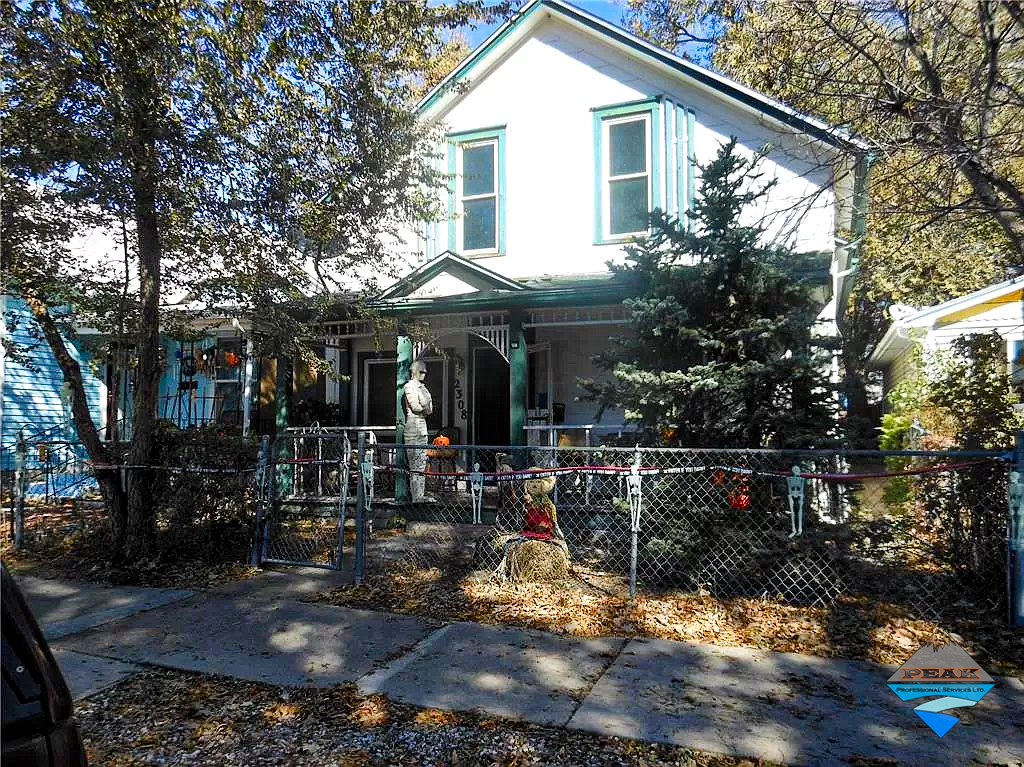
This aging property was ready to collapse and needed a new foundation because the existing stone foundation was crumbling into pieces. Unfortunately the majority of the existing framing was in very bad shape as well, so lifting the building to pour a new foundation was far too dangerous.

The building department was going to make us reduce the size of the property if we demolished the building and pulled the permit for a new construction project, in order to meet modern day setback rules from the neighboring properties; so this project’s permit was pulled as a remodel, requiring us to retain some portion of the existing structure to maintain the existing building’s footprint and maintain the overall square footage.

So we demolished everything other than the existing front wall of the building, which was lifted in place 16 inches to gain grade for water shed, and a new foundation was poured. Then the house was rebuilt and reattached to the existing front wall, which had to be brought up to code prior to completion.

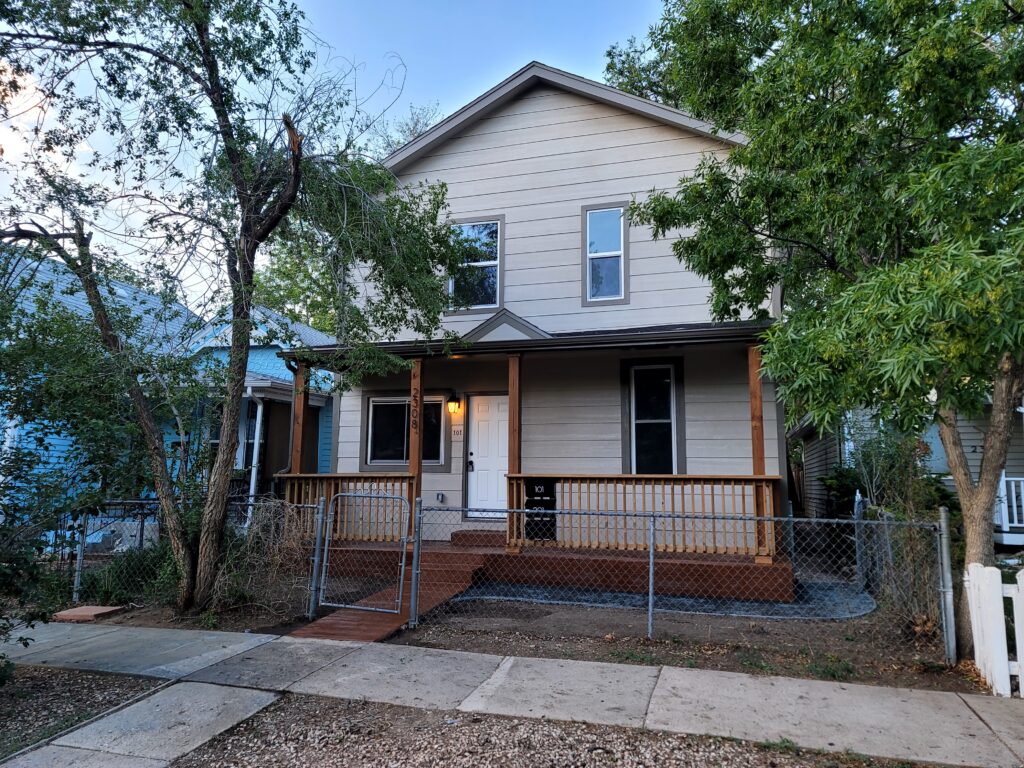
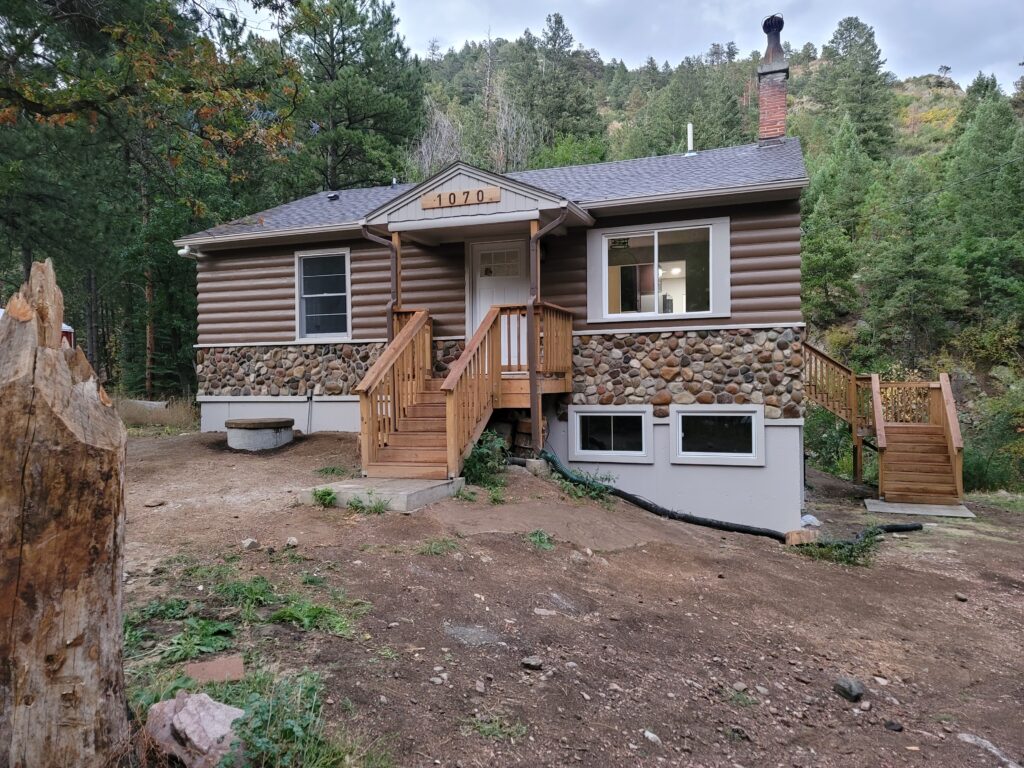
Here is the final result! Since the entire property was rebuilt, we went ahead and increased the height of the house to create taller ceilings on both stories, and the entire exterior was wrapped in new lap siding, completely transforming the look of the property. What was left of the old foundation can be seen stacked up by the base of the fence in the back yard.

This certainly wasn’t the easiest way of accomplishing this project, but it was the only way the building department would allow us to keep the house in it’s existing location without having to lose any square footage. In fact, we gained some square footage on the second floor since we eliminated the loft design in favor of full height ceilings.

Restoring and abandoned Colorado cabin

This old cabin sat empty for over a decade before we had a chance to restore it to it’s full glory. The roof was leaking and the interior had significant structural damage from the incoming water. The animals of the forest moved in and made the property their home. Here is a photo of a rare ring-tailed cat that was caught in the property and released back to the wild.

Much of the original log style lap siding was rotted, so we removed the lower few feet along the perimeter, and replaced it with natural river rocks found from the area, and continued the theme on the fireplace surround in the living area. This property had an abandoned well that was buried under several of dirt. It was uncovered and we poured a concrete extension ring to allow it to be accessible and usable again. To ensure the property had sufficient water throughout the year, we also added a rainwater collection system to collect water from the gutters, as well as an additional 400 gallons of water storage in the basement, and a full water filtration and sterilization system. And in order to add a basement bathroom a sewage ejector pit was placed under the foundation.

Significant erosion had taken place along the stream bank that faces the rear of the property, so re-grading and a new rock face was added to protect the new deck that we later built. A new garage, septic system, and propane tank needed to be added to improve habitability. The basement was finished and the entire interior was remodeled before the job was complete. Check out the final results below!

Don’t install glass door hardware before installation!

Most glass for showers and saunas is tempered for safety. This means that even the slightest stress on the glass will cause the entire piece to shatter. In order to prevent a mishap like this, make sure to install any hardware to doors and windows only after the glass is installed to it’s final location! It is tempting to use an installed handle to lift a glass door into place, and this stress will almost surely destroy any tempered piece of glass. We had to replace this steam shower’s door because of this very mishap during installation. The replacement door was installed without issue because the handle was installed after the glass.

Painting a Stone Fireplace Surround for a Modern Look

It is possible to change the look of your stone fireplace surround with a bit of paint!

Make sure the stone is well cleaned and prep it with an etching solution prior to painting, all soot and carbon buildup needs to be removed. Masonry and concrete paint is ideal, and the paint should be applied with a sprayer in order to get adequate coverage and to avoid uneven application. With a bit of hard work, you can update your stone fireplace surround without having to replace the entire thing!

Popcorn Ceiling Removal

We had to repair this ceiling due to a roof leak caused by a hail storm. Rather than just patching and blending the texture, the owner decided to update the interior and get rid of the dated acoustic ceiling texture. Here is the complete removal of existing texture, and the updated knockdown texture it was replaced with.